Building A Better Fake ConfigMgr Client
Building A Better Fake ConfigMgr Client
I’ve posted before about ways to fake a CM client, but that only fakes the inventory data. I wanted to up my demo game and had a goal - make a fake client that could respond to CM Pivot!
I decided the best course of action would be to put the ConfigMgr client in a Docker container so I could just spin up multiple containers and have live clients that acted like real machines. Here’s how I did it:
First off, you want Docker for Windows installed on your machine.
After Docker is installed, make a new folder somewhere and then make a new file called Dockerfile (note, this has no extension, just Dockerfile). This is basically a script that will build our container. Open the file with your favorite editor (VS Code, NotePad, etc…) and put this in:
FROM microsoft/dotnet-framework:4.6.2

WORKDIR /Client
RUN echo 10.0.0.6 MMSMOAPS1.contoso.com >> C:\Windows\System32\drivers\etc\hosts
COPY Client .
RUN powershell.exe -file install.ps1

ENTRYPOINT ["powershell.exe", "-file", "start.ps1"]
In my lab, I don’t have DNS so I have to use the hosts file. If you are confident you can get to your MP without editing the hosts file, then feel free to remove the RUN echo line. If you need to edit your hosts file, update the RUN echo line to have the IP address and FQDN of your MP.
Next, copy the contents of \\SCCMPrimaryServer\SMS_PS1\Client to a folder called Client where your Dockerfile is. It should look like this:
root
  -Client
    -ccmsetup.exe
    -All other files
  -Dockerfile
Now, in your client folder, we need to put two files. One is install.ps1 and the other is start.ps1. The contents of install.ps1:
Write-Output 'Starting ccmsetup'

& cmd /c ccmsetup.exe /mp:MMSMOAPS1.contoso.com SMSSITECODE=PS1 SMSMP=MMSMOAPS1.contoso.com DNSSUFFIX=contoso.com

Start-Sleep 10

while(Get-Process -Name 'ccmsetup' -ErrorAction SilentlyContinue) {
    Get-ChildItem 'C:\Windows\ccmsetup' -Filter 'ccmsetup.log' -Recurse | ForEach-Object {
        Get-Content $_.FullName -Tail 5
    }
    Start-Sleep 10
}


$service = Get-Service -Name 'ccmexec' -ErrorAction SilentlyContinue

if($null -eq $service) {
    Get-ChildItem 'C:\Windows\ccmsetup' -Filter 'ccmsetup.log' -Recurse | ForEach-Object {
        Get-Content $_.FullName
    }
    $ErrorActionPreference = 'Stop'
    throw 'Was not able to install client'
}
Change line 3 to match your environment (update the MP with the FQDN and the DNSSuffix).
This file installs the client, and since visibility is hard inside a docker container it outputs the ccmseup.log file as the install happens. Finally it checks to ensure the ccmexec service exists and if it does not, it will output the full ccmsetup.log file and throw an error.
Now create start.ps1 and here’s the contents of that file:
Remove-Item C:\Windows\SMSCFG.INI -Force
Get-ChildItem 'HKLM:\SOFTWARE\Microsoft\SystemCertificates\SMS\Certificates\*' | Remove-Item -Force

Start-Service -Name 'ccmexec'

ping localhost -t
This simply removes the SMSCFG file and any client certificates (which ensures each new docker container is a unique client) and then starts ccmexec. The docker container will exit when the script ends, so at the end it just pings localhost forever. This way you can stop it when you want.
And that’s it! Now all you have to do is build the container. What this step does is it will run the steps in the Dockerfile. These steps are:
1) Download the image microsoft/dotnet-framework:4.6.2 2) set up the hosts file 3) Copy the folder .\Client to the container 4) Run the file install.ps1 to install the SCCM client 5) Set up the container to run start.ps1 when it starts.
Go to the root of the main folder with your Dockerfile in it, and run this command:
docker build --no-cache --pull -t ephingcmclient .
-t ephingcmclient is the name of the container, so if you want feel free to name it something else. --no-cache is there because if you have to rebuild (let’s say the client didn’t fully install) you don’t want it using the cache. --pull is there because no-cache doesn’t always work if pull isn’t specified. It just says always use the newest image.
After you wait 10-15 minutes for the image to download, this step will take another 10-15 minutes to install the client. Be patient.
The most common error I’ve seen is a network error where the client couldn’t contact the MP. Docker at the build stage doesn’t always share a VPN connection with your container, so you might have problems if you use a VPN. I got around it by putting my primary site server on the internet, opening port 80 and 443, and updated my hosts file to hit the external IP.

After you have successfully built the container, you can run it!
docker run -d ephingcmclient
This runs it in detached mode so you can run multiples…
docker run -it ephingcmclient
This runs it in interactive mode so you can see if there are any errors.
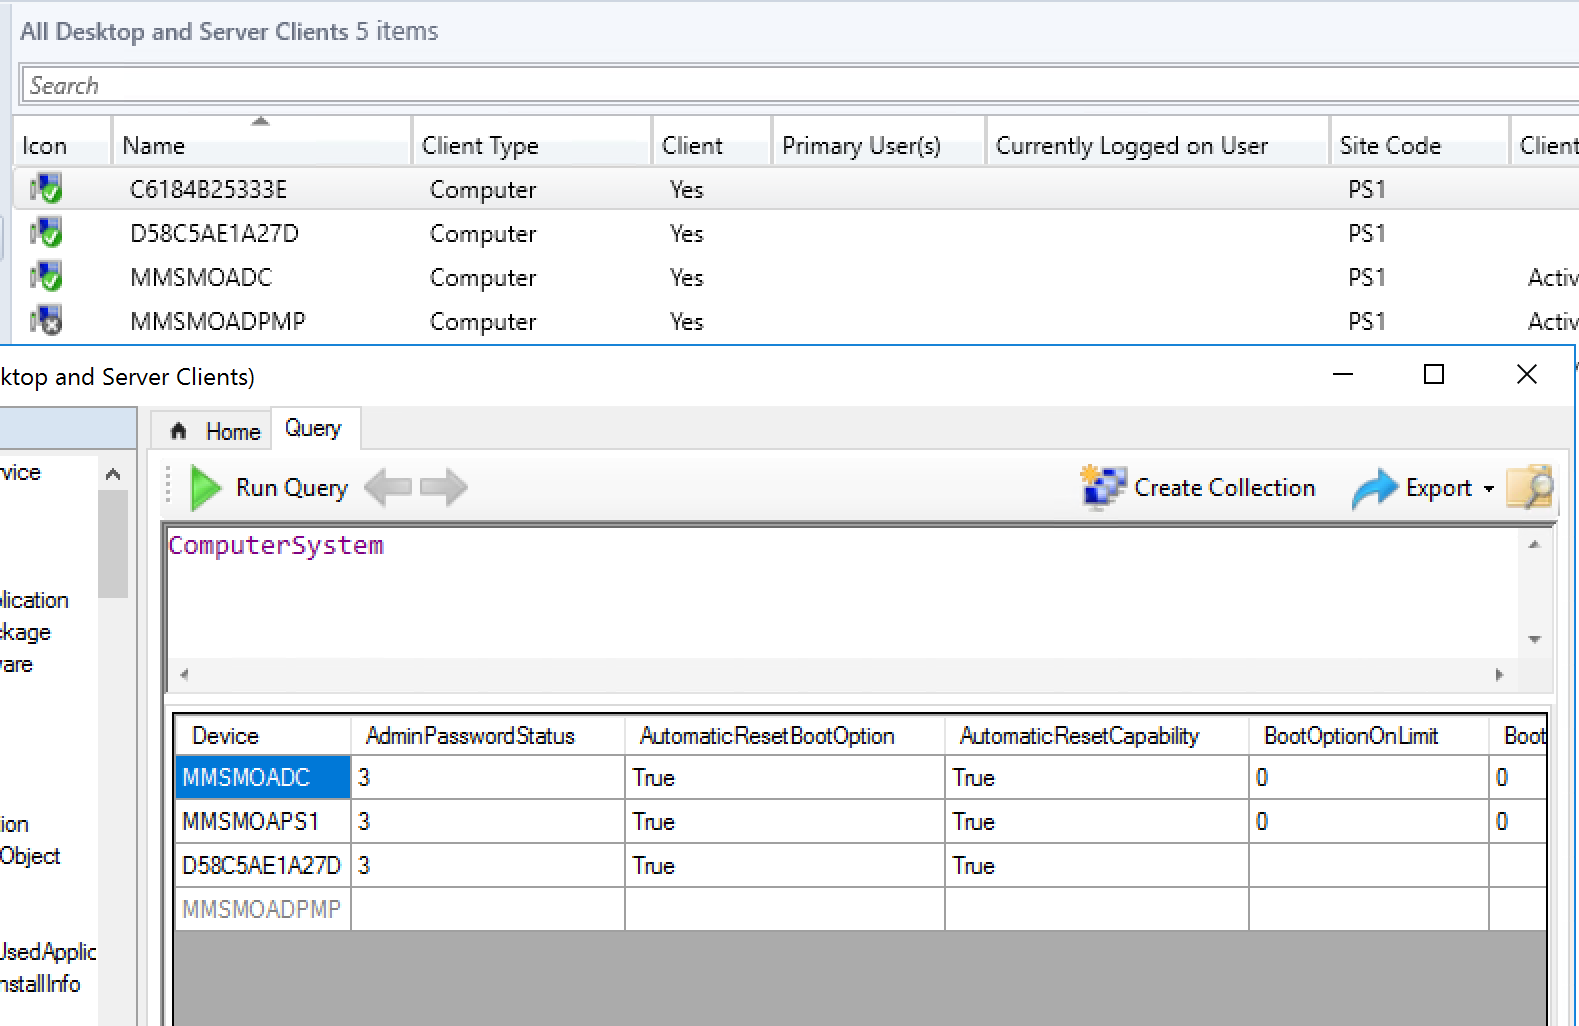
If everything goes good, after a minute you’ll start seeing your new clients pop up in CM. Note, this will be workgroup computers, so if you don’t have your site set up to “Automatically approve all computers (not recommended)” you’ll have to approve them.
Once you do, they will be fully working CM Clients that respond to CM Pivot!
Update 5/5/2019: All clients are now fully working. The code to remove certificates wasn’t correct. It’s updated now in this blog post and should work.
Leave a Comment